There is really nothing that compares to a piping hot, fluffy, sticky cinnamon bun slathered in cream cheese frosting. However, they are quite a time-consuming thing to make. Totally worth it, but the yeast, the kneading, rising, rolling, rising it can be a little much, and sometimes you just need that cinnamon bun fix without all of the work. These cinnamon bun muffins have the flavor of a delicious cinnamon bun but are ready in 15 minutes.
These muffins have three simple components. First, there's a vanilla-scented batter, then a mixture of cinnamon, brown sugar, and chopped nuts which plays the rolls of the classic cinnamon bun filling. Some of that is folded into the batter so every bite has the hard-to-resist cinnamon sugar flavor and then the rest gets sprinkled on top for a crunchy caramelized topping. Finally, once the muffins have cooled they are drizzled with a rich cream cheese icing.
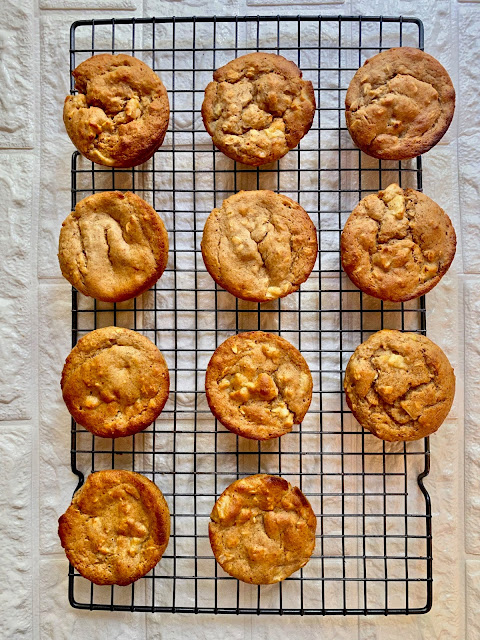
Cinnamon Bun Muffins
2 cups flour
1 Tbsp baking powder
1/4 tsp baking soda
3/4 tsp salt
1/4 cup oil
3/4 cup milk of your choice
2 eggs
2 tsp vanilla extract
1/3 cup sugar
Mix in and Topping
3/4 cup brown sugar
1 cup chopped nuts like walnuts, almonds, or pecans - you can use just 1 type, but I recommend a mix of all 3*
1 Tbsp cinnamon
Pinch of salt
2 Tbsp oil
Cream Cheese Icing
2 Tbsp room temperature cream cheese**
1 cup confectioners' sugar
1/2 tsp vanilla extract
Splash of milk of your choice
Preheat the oven to 200°C/400°F
Grease a standard-size muffin pan liberally with non-stick cooking spray.
In a large bowl mix together the flour, baking powder, baking soda, and salt. In a liquid measuring cup or medium-size bowl, whisk together the oil, milk, eggs, and vanilla. Add the liquid ingredients to the flour mixture along with the sugar.
Mix together until just combined, being sure not to overmix as this will result in a dense muffin.
In a separate bowl mix together the ingredients for the mix-in/topping.
Add 1 cup of the mix-in/topping mixture to the batter and gently fold it in only two or three times just to swirl it in not to fully combine with the batter. Scoop the batter into the prepared muffin pan and top with the remaining mix-in/topping mixture.
Bake for 13-16 minutes or until a toothpick inserted in the center of a muffin comes out clean.
Allow to cool for a few minutes in the pan and then pop out and cool on a rack.
To make the icing mix together the cream cheese, confectioners' sugar, and vanilla extract. Add a tiny splash of milk and mix adding more milk if necessary until you reach a drizzling consistency.
Drizzle over the tops of the muffins and devour :)
These muffins will keep for 2 days in an airtight container or can be frozen without the icing. Just defrost them on the counter overnight and then top with the icing when ready to eat.
Yield: 12 standard-size muffins
*if you have a nut allergy try using 3/4 cup instant oats in place of the nuts so you won't miss out on the body and texture that the nuts add to these muffins.
**If you would like to make these muffins dairy-free you can omit the cream cheese and just use more dairy-free milk or use Tofutti cream cheese